LiveScore
LiveScore is a visual notation environment for Live based on MaxScore. It is thoroughly integrated into Live via the API provided by Max and allows the transcription and editing of Live MIDI clips. There are two Live notation devices:
- LiveScore.Viewer which displays, for each individual track, the content of a selected MIDI clip in standard music notation. It also allows simple editing via mouse actions and keyboard shortcuts.
- LiveScore.Editor which is the actual music editor. The LiveScore.Editor device has a graphical user interface that offers a number of convenient tools; among them: intelligent transcription with key and clef finder, a percussion map, a set of menus and palettes for easy navigation and interactive editing as well as microtonal notation and playback via LiveScore devices.
We are going to walk you through the first steps of using LiveScore. Let’s start by opening a Live Set named LiveScore Demo.als which you should find in User Library>LiveScore.
LiveScore Viewer
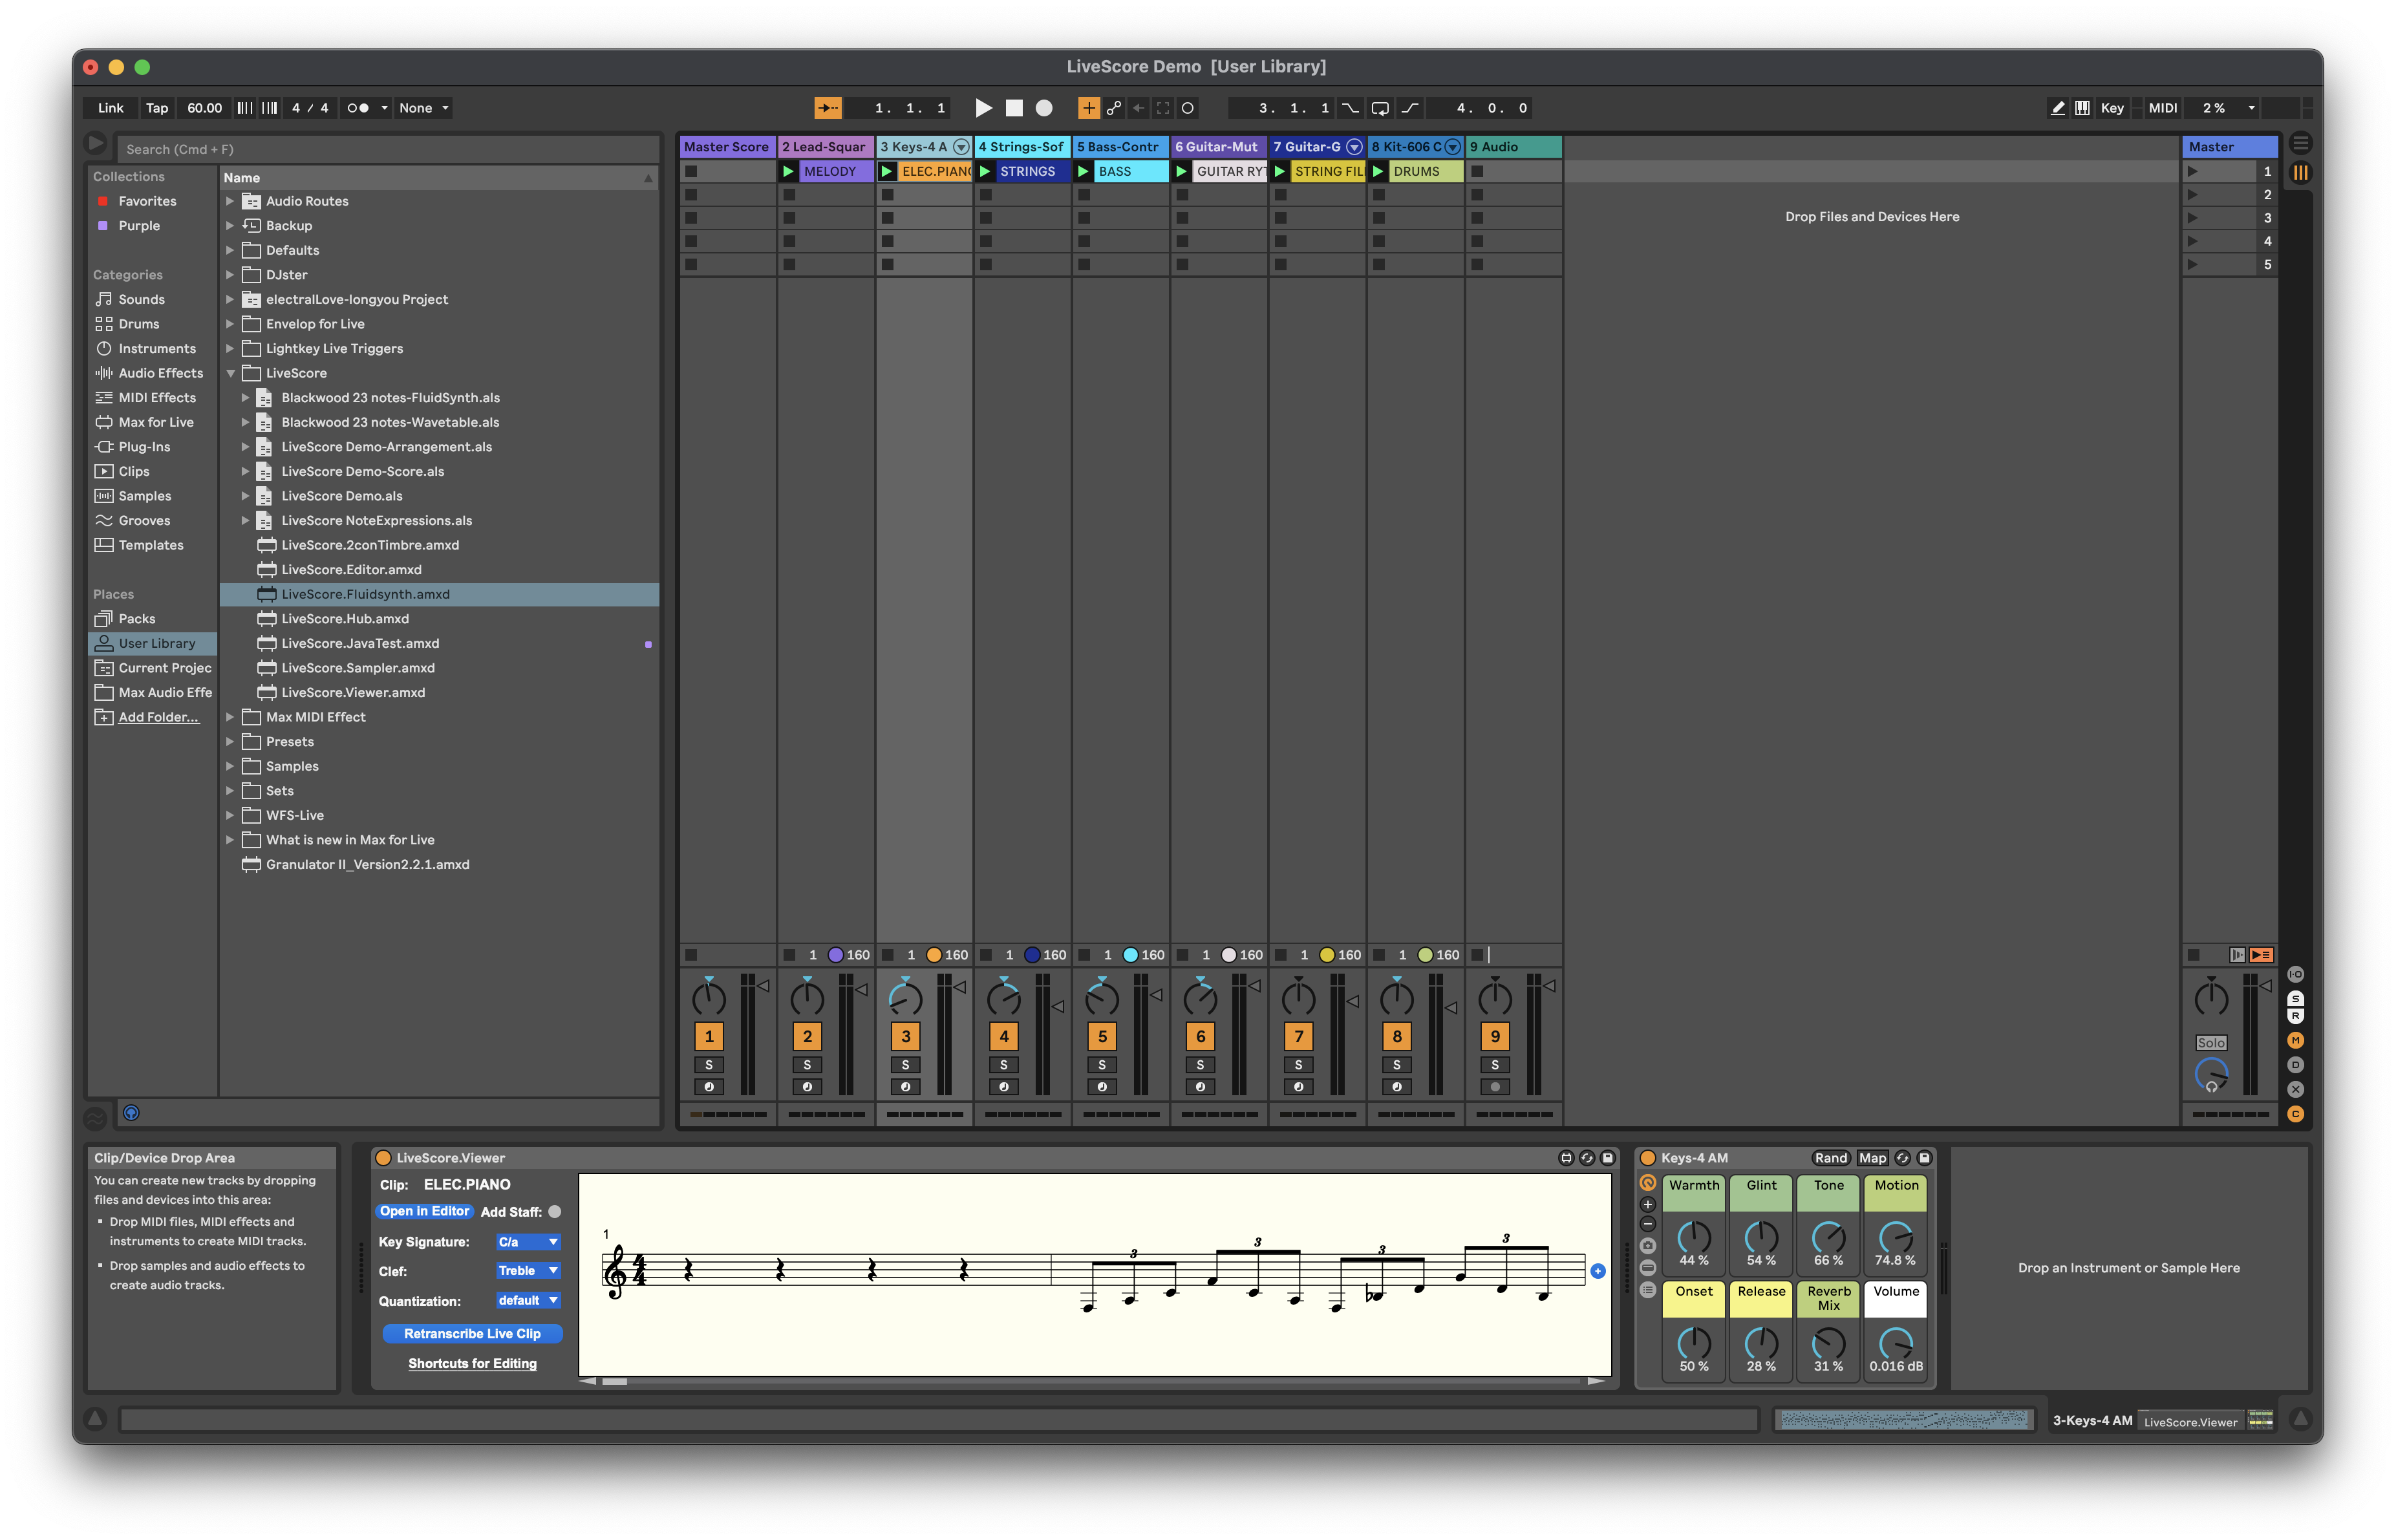
You just opened a pretty cheesy arrangement of What a Wonderful World. In Live Session View click on the track called 3-Keys-Acoustic-Piano. If everything went fine, you should be able to see the transcription of the piano accompaniment. The piece is in F major, so if it’s not already displaying it, choose the proper key signature from the Key Signature menu. You might find that it’s easier to read the line in bass clef, so select bass from the Clef menu. There are also a few quantization options ranging from quarter note-triplets to 32nd notes. In most cases, the default setting will yield a good enough result. Now, grab the scroll bar and scroll through the entire line.
The clip viewer updates its content dynamically, whenever you
• Change a clip’s loop or section marker
• Add or change notes in Live’s Clip View manually
• Record a new clip in Session View
Now we are ready to change a few notes in the ELEC.PIANO clip. First let’s switch to Live’s Clip View with shift-tab. Grab the first note and move it up an octave. When you go back to LiveScore, you’ll notice that the change you made is reflected in the score. If you copy the first three notes and paste them at the beginning of sequence, those notes also immediately appear in the score.
Of course, you can also change or add notes just with LiveScore Viewer without having to even switch to Clip View. Select the notes you want to alter and refer to Shortcuts for Editing for a list of possible shortcuts (e.g. press “o” if you want to transpose your notes and octave higher). You can also use the mouse to add new notes by double-clicking or ctrl-clicking.
Let’s record a few new notes to a new clip. Right-click or ctrl-click on the track named “8 Kit-606 Classic-1” and choose Insert MIDI Track from the pop-up menu. You should see a new track called “9 MIDI.” Copy LiveScore Viewer for instance by alt-dragging the device from another track onto the newly created track and right-click or ctrl-click on the first clip slot to insert a MIDI clip. You should see an empty MIDI clip which we’ll name FUN-WITH-SCORES. Just type cmd-R and enter the new name. Double-click on the MIDI clip to open the MIDI Note Editor, set loop length to a reasonable length, arm the track in the clip’s Mixer Section and start recording by clicking into the small triangle next to the clip name. Now use the computer keyboard or an external controller to record music. During recording you can switch to LiveScore Viewer and watch the notes being transcribed automatically. Once you’re done recording, you can quantize the music in the Live MIDI Note Editor. The quantize option in LiveScore Viewer is for display purposes only and doesn’t affect the timing of the notes!!
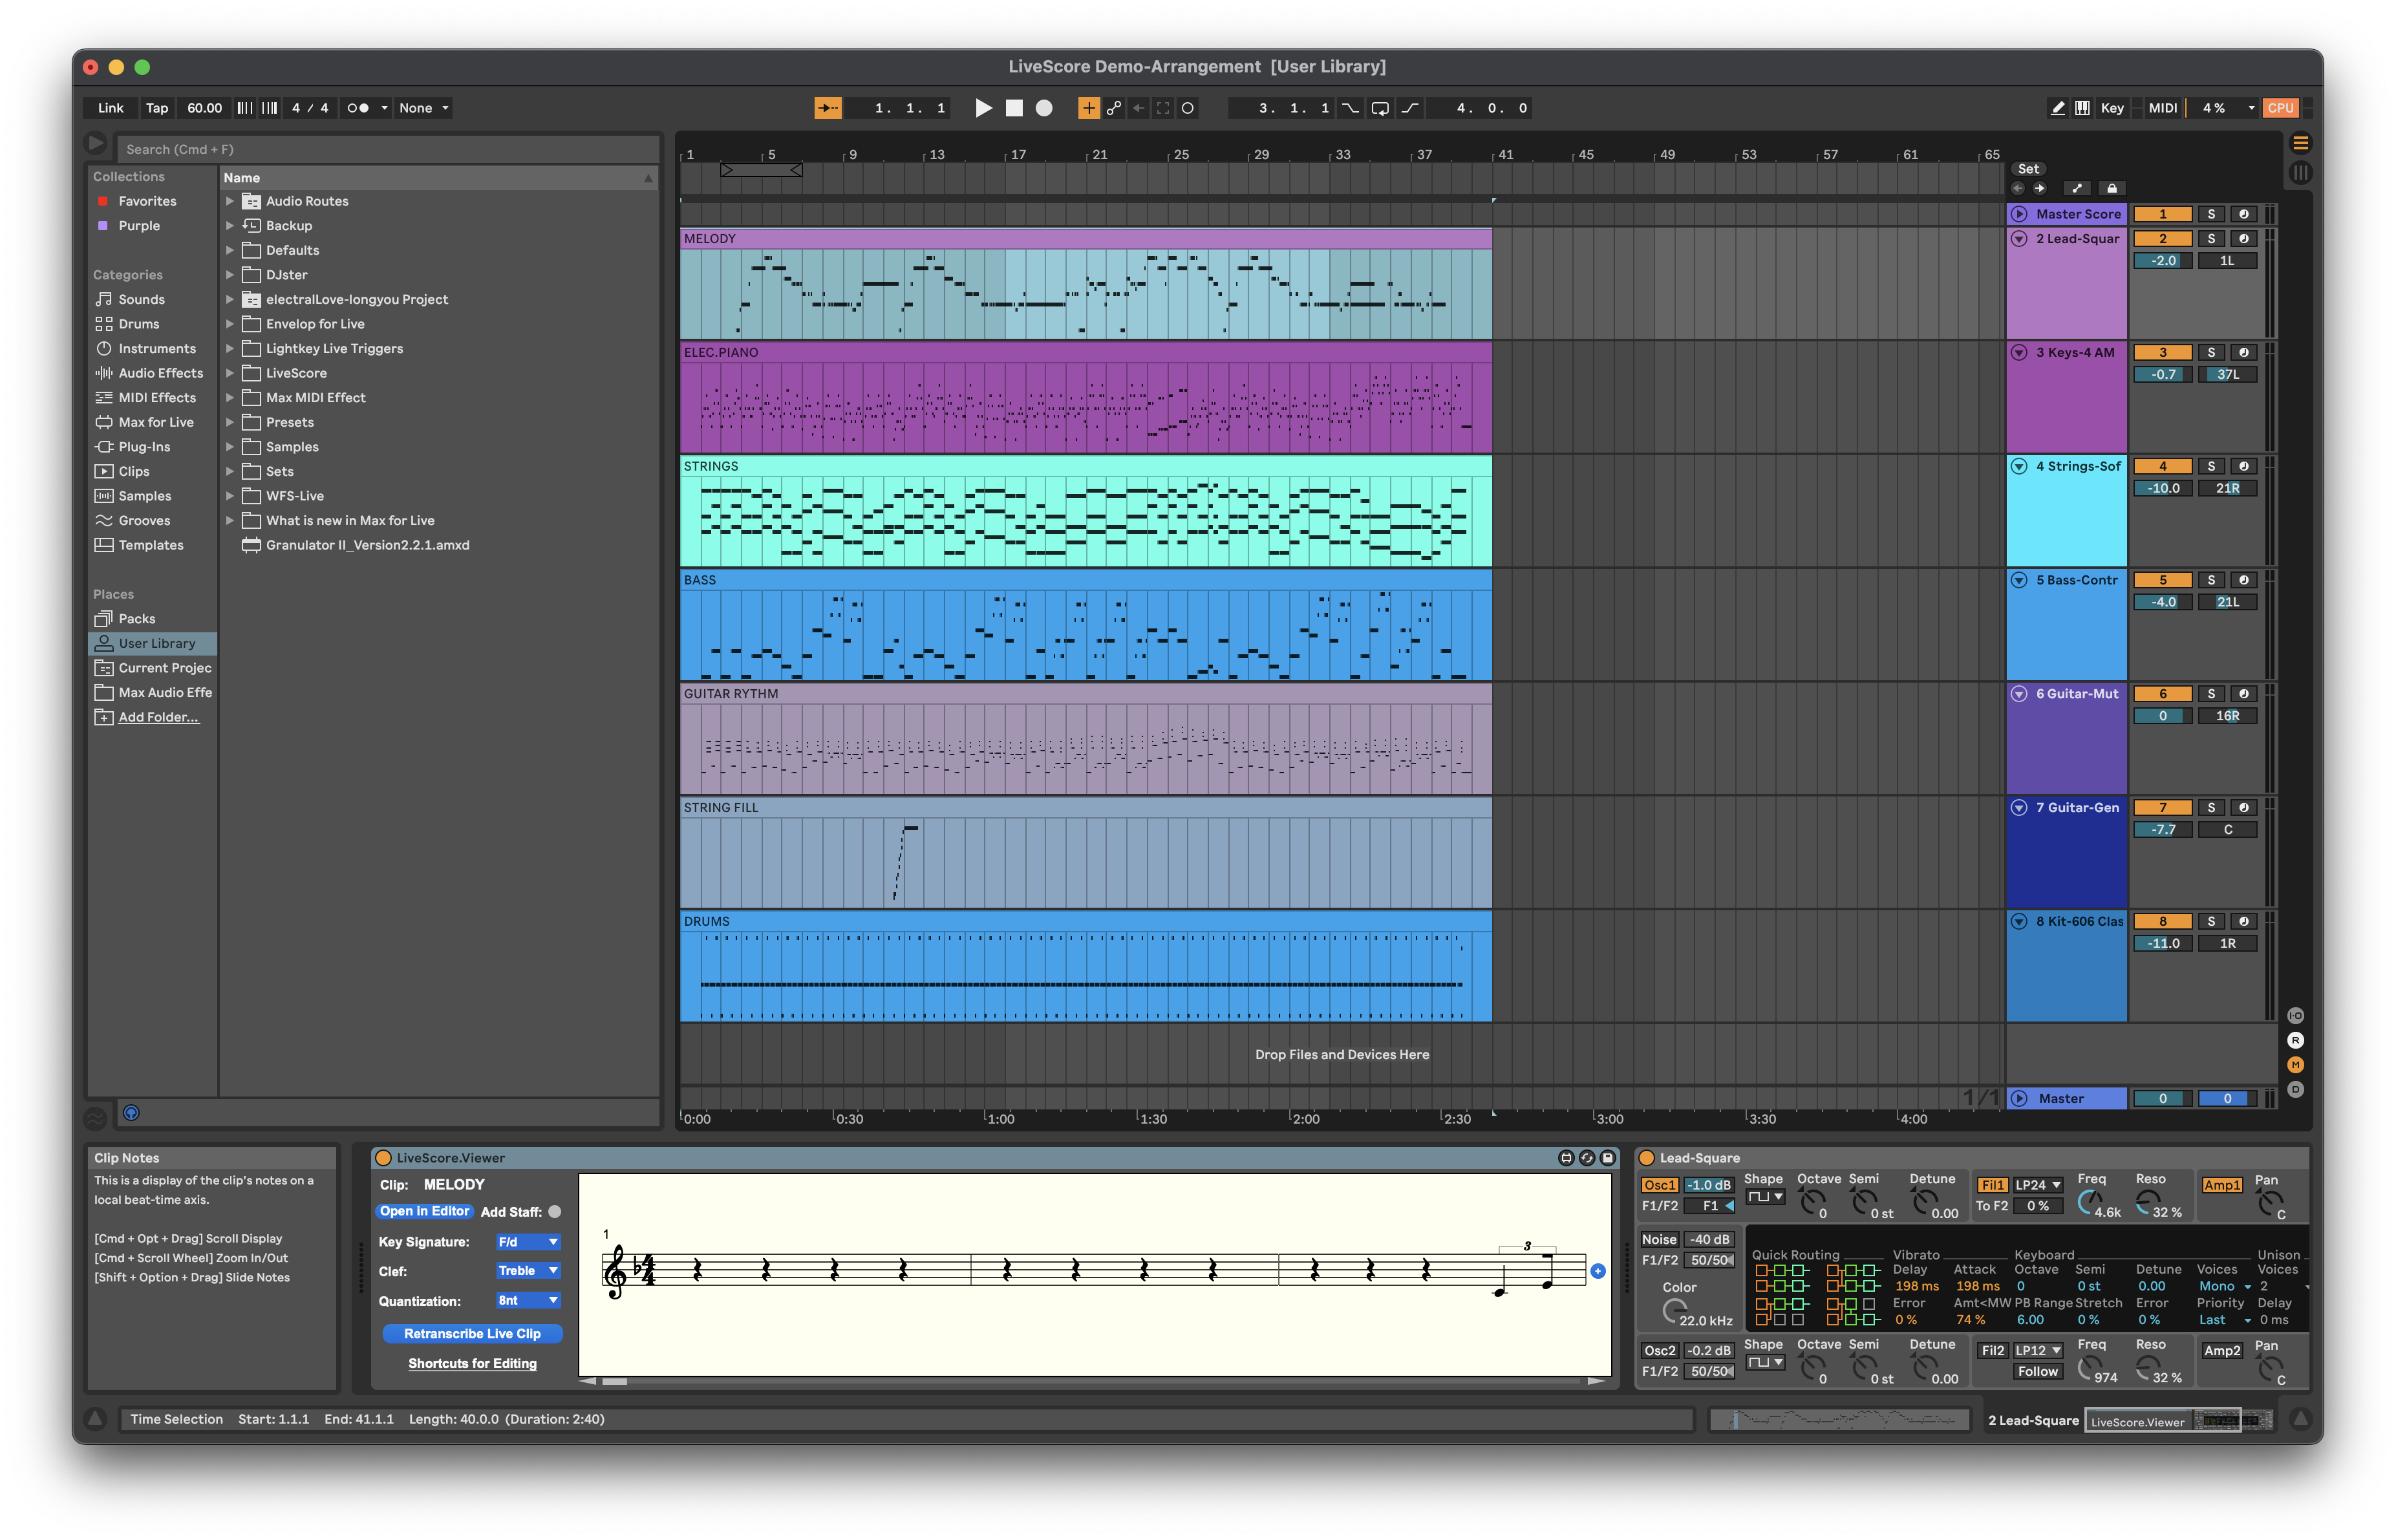
As of Live 11, clips can also be edited in Arrangement View. Open the Live set called LiveScore Demo-Arrangement and select one of the clips. The notation appears just as with any other clip from the Clip Matrix in Session View.
What’s lacking in the Viewer are more advanced engraving capabilities such as adding dynamics or articulations. This is where the LiveScore Editor comes in handy. Clicking on the Arrange button will take you now to the Editor and its Staff Manager which lets you select the clips you want to include in your score (check the Add Staff toggle if you want to add the clip to an existing score).
Staffmanager
Transcription
You can switch to the Staff Manager by pressing shift-2, but you can also open it from the View menu. Lets now take a closer look at the Staff Manager. There are red buttons beneath the Transcription, Clef and Key Signature labels.
There are two ways to trigger transcription: You can either perform a transcription affecting all staves that have been selected from the Live Clip menu (for this choose the Transcription Staff from the Edit menu) or a per-staff transcription by clicking in the grey circle next to the Transcribe button. When performing a “global” transcription, a clip will be excluded from transcription, if its transcription button is off (i.e. grey). This feature is very useful in case you want to add staves after you’ve already embellished one or several staves.
The other two buttons next to the Clef and Key Signature menus toggle automatic clef and key signature assignment by gauging the distribution of notes in a clip. When percussion clef is selected, automatic assigment is off, even though the corresponding button is still red. Clefs and key signatures can always be selected manually after transcription.
Sorting
Besides layout and scoring options (Spacing Above and Below as well as Staff Lines and Ledger Lines), the Staff Manager also offers the possibility to rearrange staves. For this, enter the target staff numbers into the Staff number box and select Sort Staves from the Edit menu. Refer to the MaxScore tutorial in Max Reference for further documentation of the Editor’s functionality.
Updating the Live Clip Menu
If a MIDI clip is inserted into or deleted from a Live clip slot, the Live Clips menu needs to be updated. Click on the underlined “Live Clip” label to update the menu.
Quantization
The result of transcription depends a great deal on the quantization settings. There are two places to set quantization, one in Live, the other in the LiveScore Editor. For successful transcription it is crucial that the correct quantization has been set in Live first. For this, right-click (Win) or ctrl-click (Mac) on the piano roll grid on Live’s Clip View and make the appropriate choices.
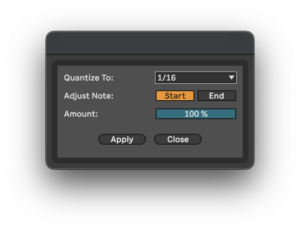
Then experiment with MasterScore’s quantization settings. Choose Preference from the View menu and click on the Quantization menu.
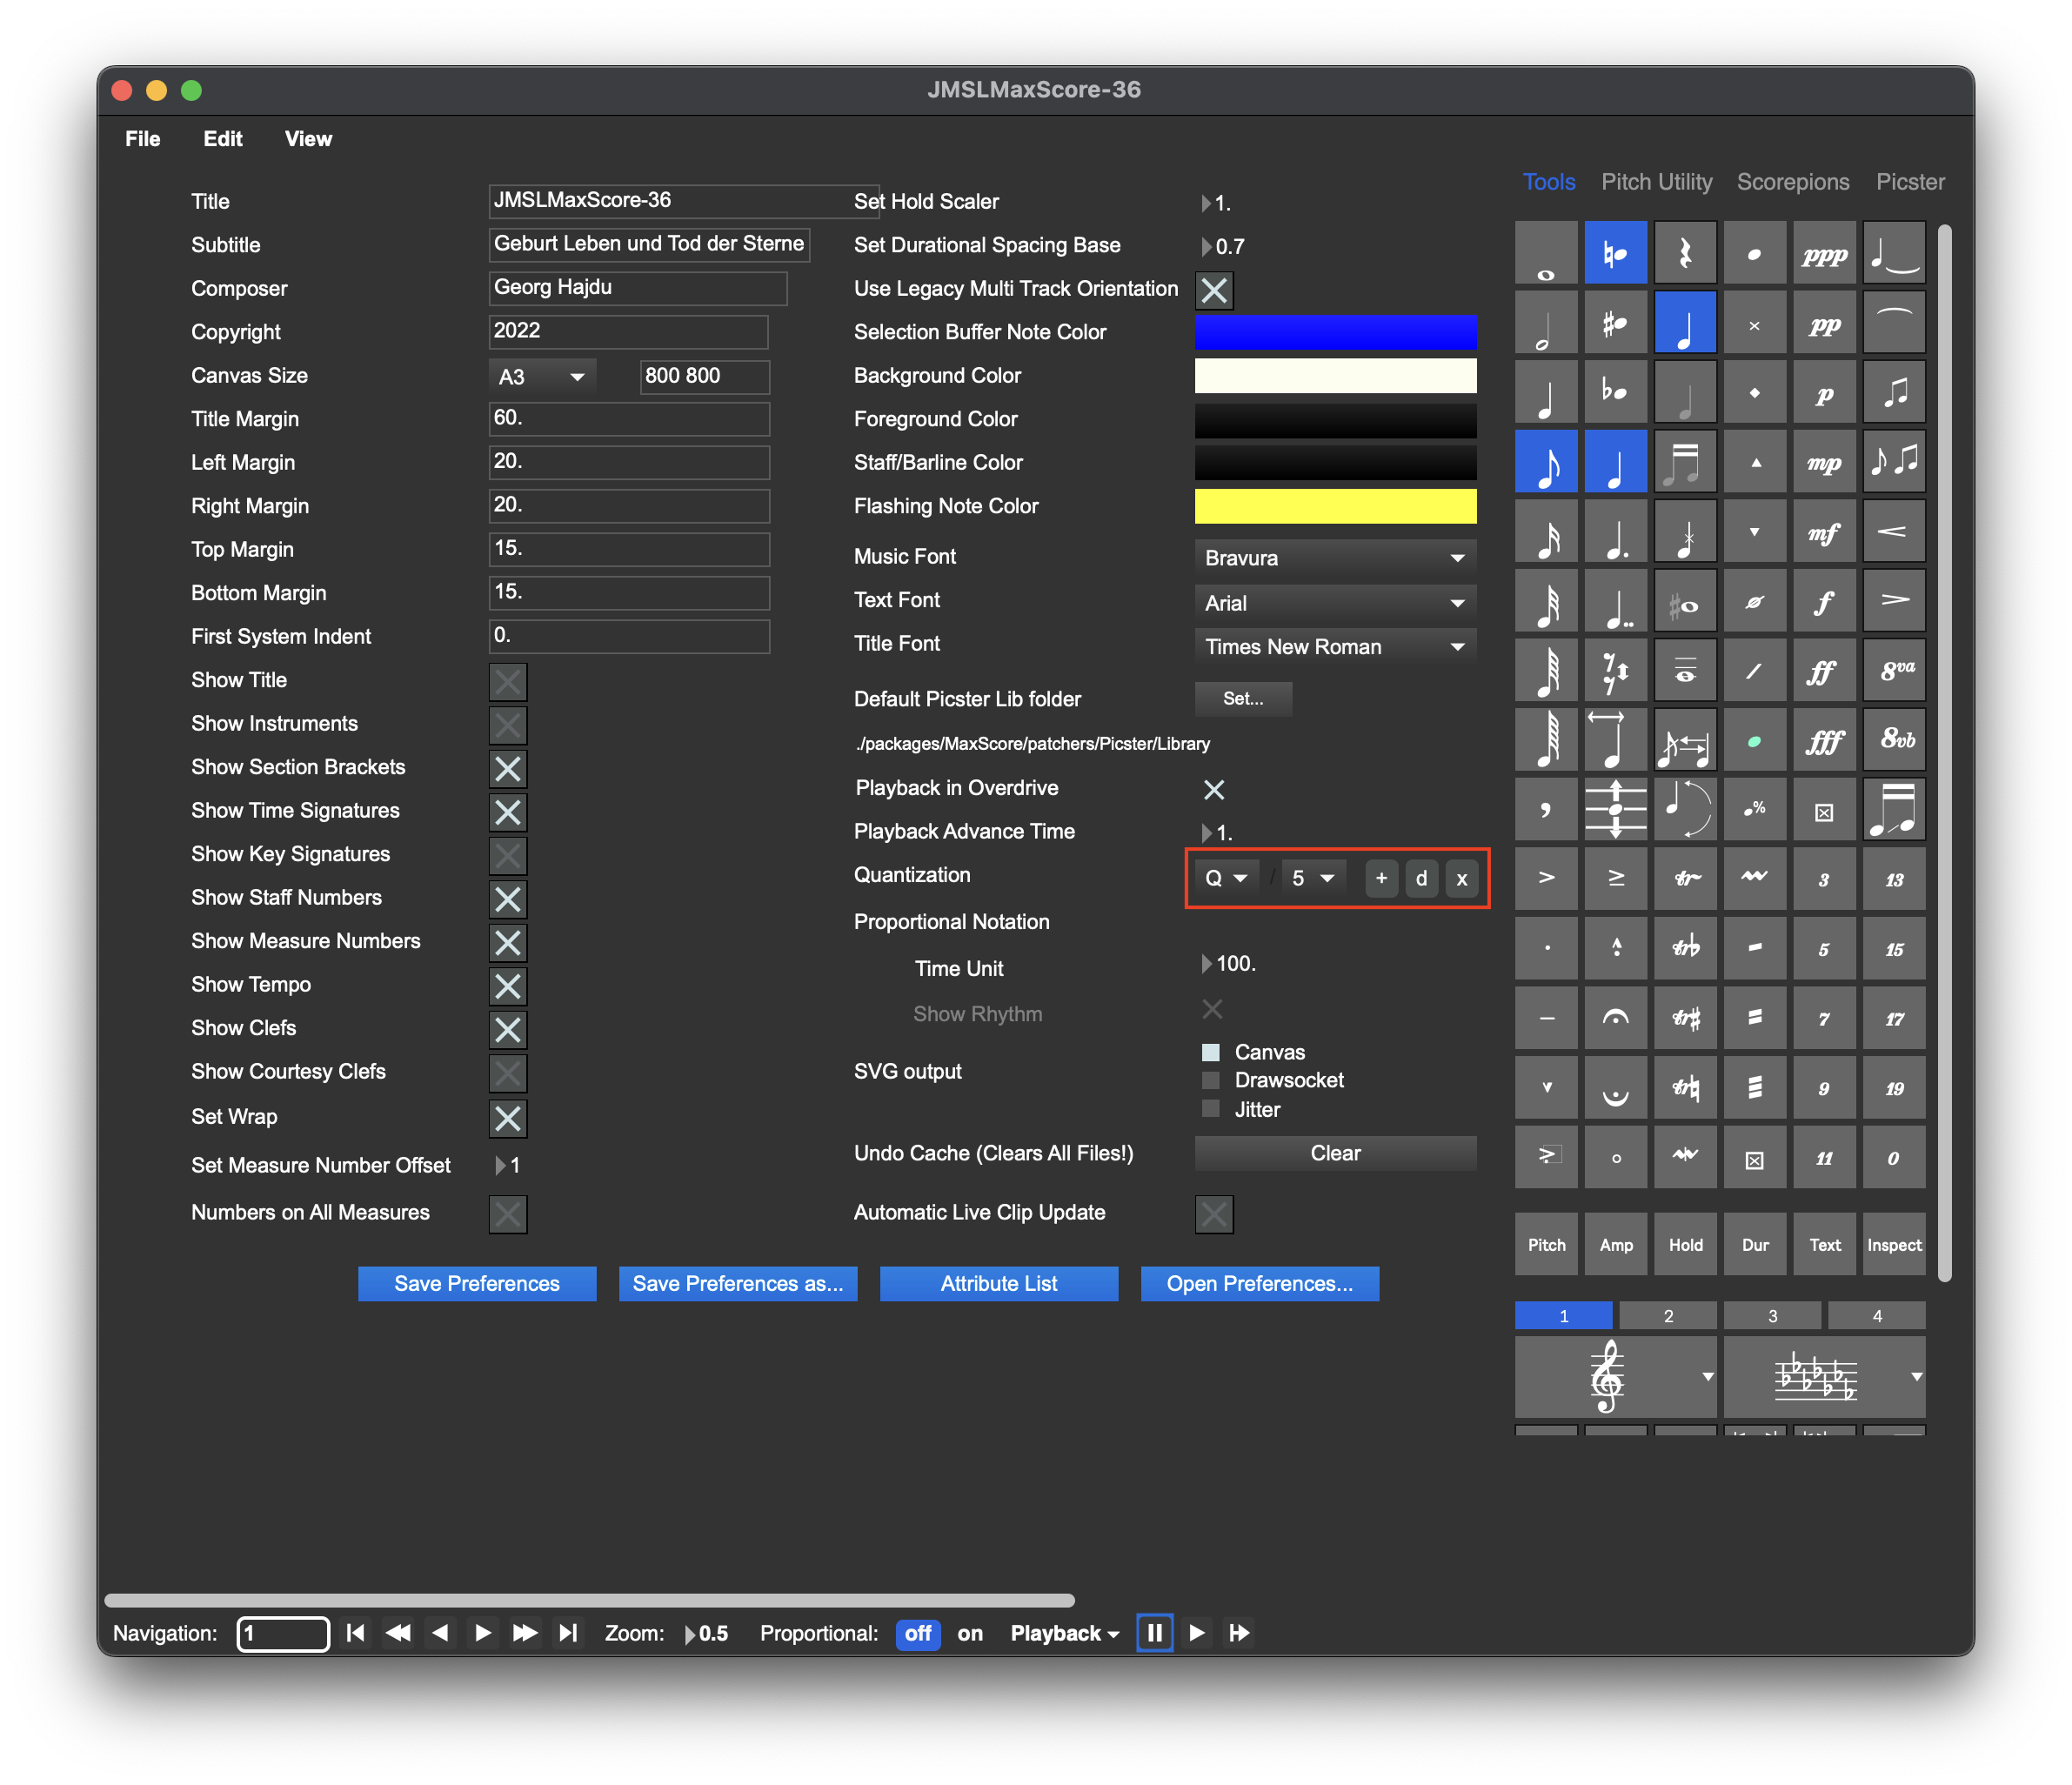
The default setting offers a mix of n-tuplets including quintuplets and septuplets. If you prefer simpler results, choose from the remaining quantization options: 4nt, 8n, 8nt, 16n, 16nt, 32n (with n meaning note and t meaning triplet)
Playback
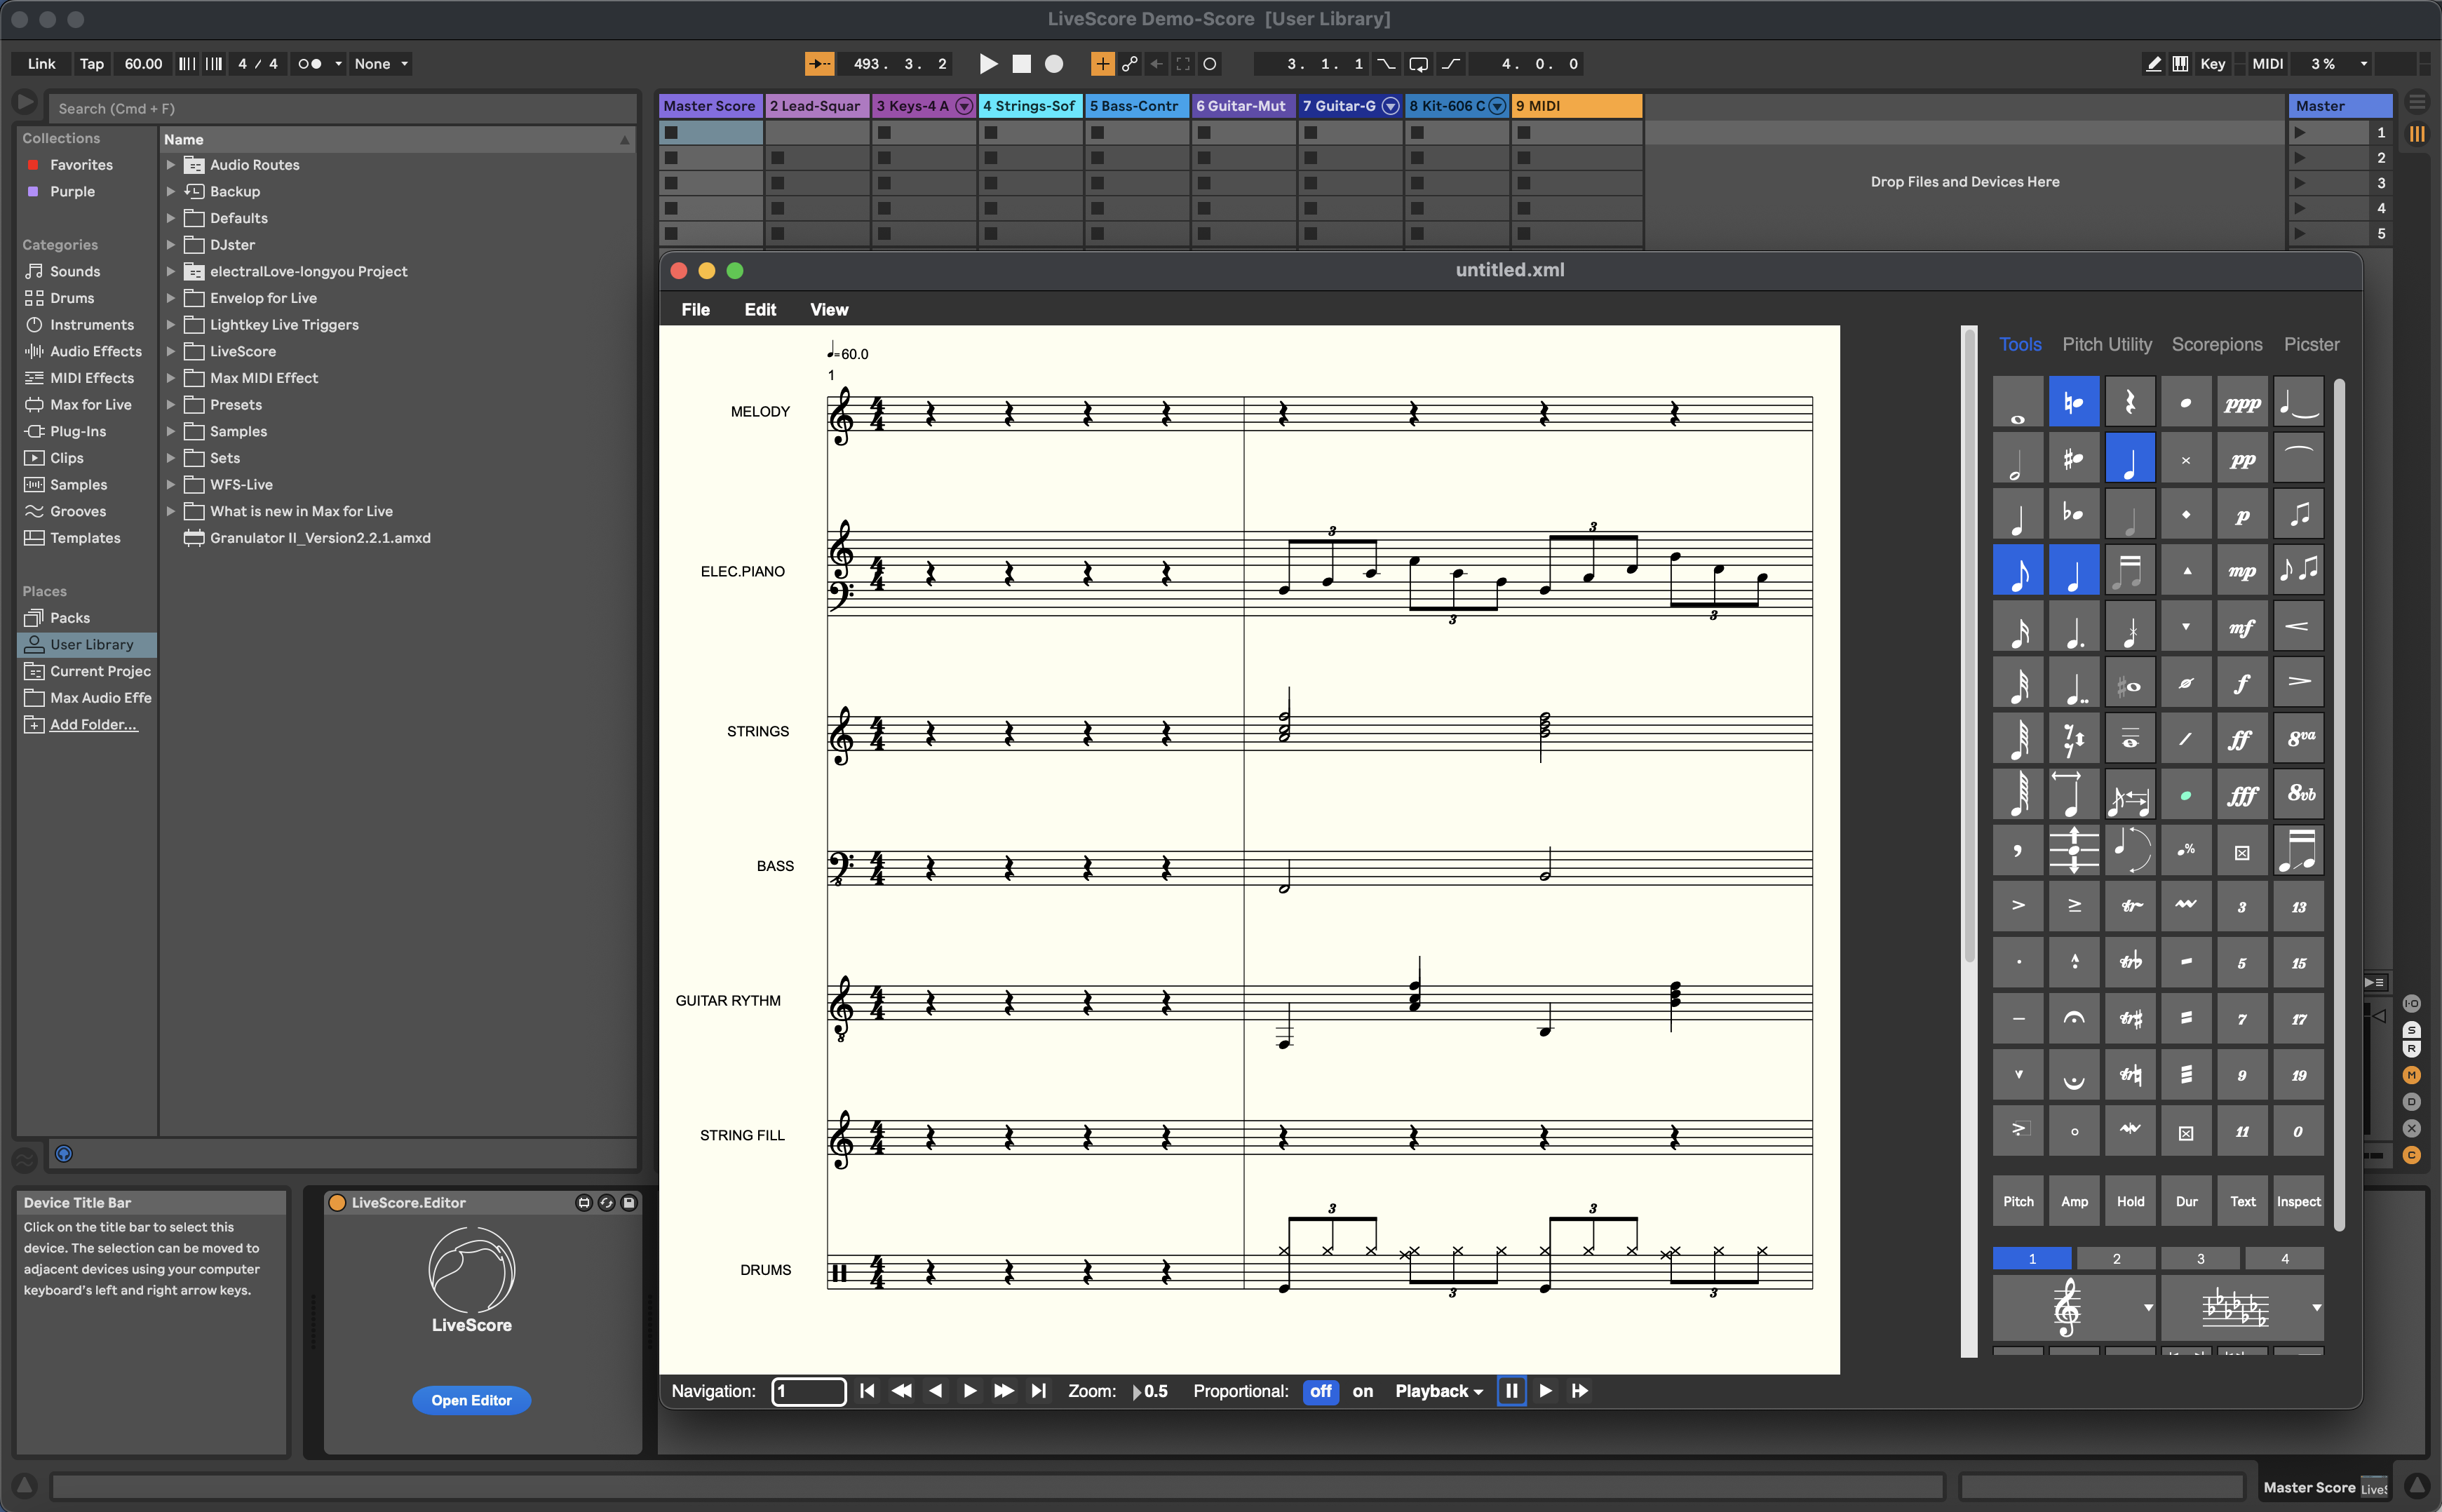
LiveScore Editor is sync’ed to Live’s transport, i.e. when you start playback, a cursor will flash and pages will turn automatically. You can use LiveScore own multi-timbral, microtonal playback devices (Fluidsynth, Sampler and 2conTimbre) or use LiveScore Hub to communicate with regular Live devices (see below). The Live set called LiveScore Demo-Score.als contains the same music as the previous set except it is now saved as a score in the LiveScore device and not as a set of clips. You can use the Live play and stop buttons to turn the playback on and off. Note, that LiveScore also has its own play and stop buttons which work independently from its host environment, meaning that if you start playback from within the LiveScore Editor you won’t be able to stop it by clicking on the Live stop button.
Using the LiveScore Hub
The LiveScore Editor is a multi-timbral device that can talk to its “own” LiveScore playback devices (such as LiveScore.Fluidsynth). If communication with “regular” Live playback devices is desired, one would need to direct the events to the respective destination tracks. This is what the LiveScore Hub was designed for. In the Editor’s Staff Manager you can find a menu (you may have to scroll to the right) which will let you pick a destination track. Each corresponding track (numbered from 1 onward) requires an instance of the LiveScore Hub to receive the events and to translate them into MIDI signals and calls to the Max for Live API (used by Picster Expressions for the purpose of automation).
Microtonality
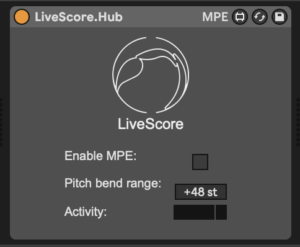
As Live 11 also features support for MPE, microtonal scores (which can easily be created with the numerous tools the LiveScore Editor provides) can finally also be played back with those Live instruments that support MPE (currently Sampler and Wavetable). You can identify a MPE-savvy instrument by the small MPE on title bar’s right side. When using the LiveScore Hub for microtonal playback make sure MPE is enabled in the device and its Pitch Pend Range matches that of the instrument. For this, check the MPE matrix of the instrument and use the number in the Note PB/Pitch cell.

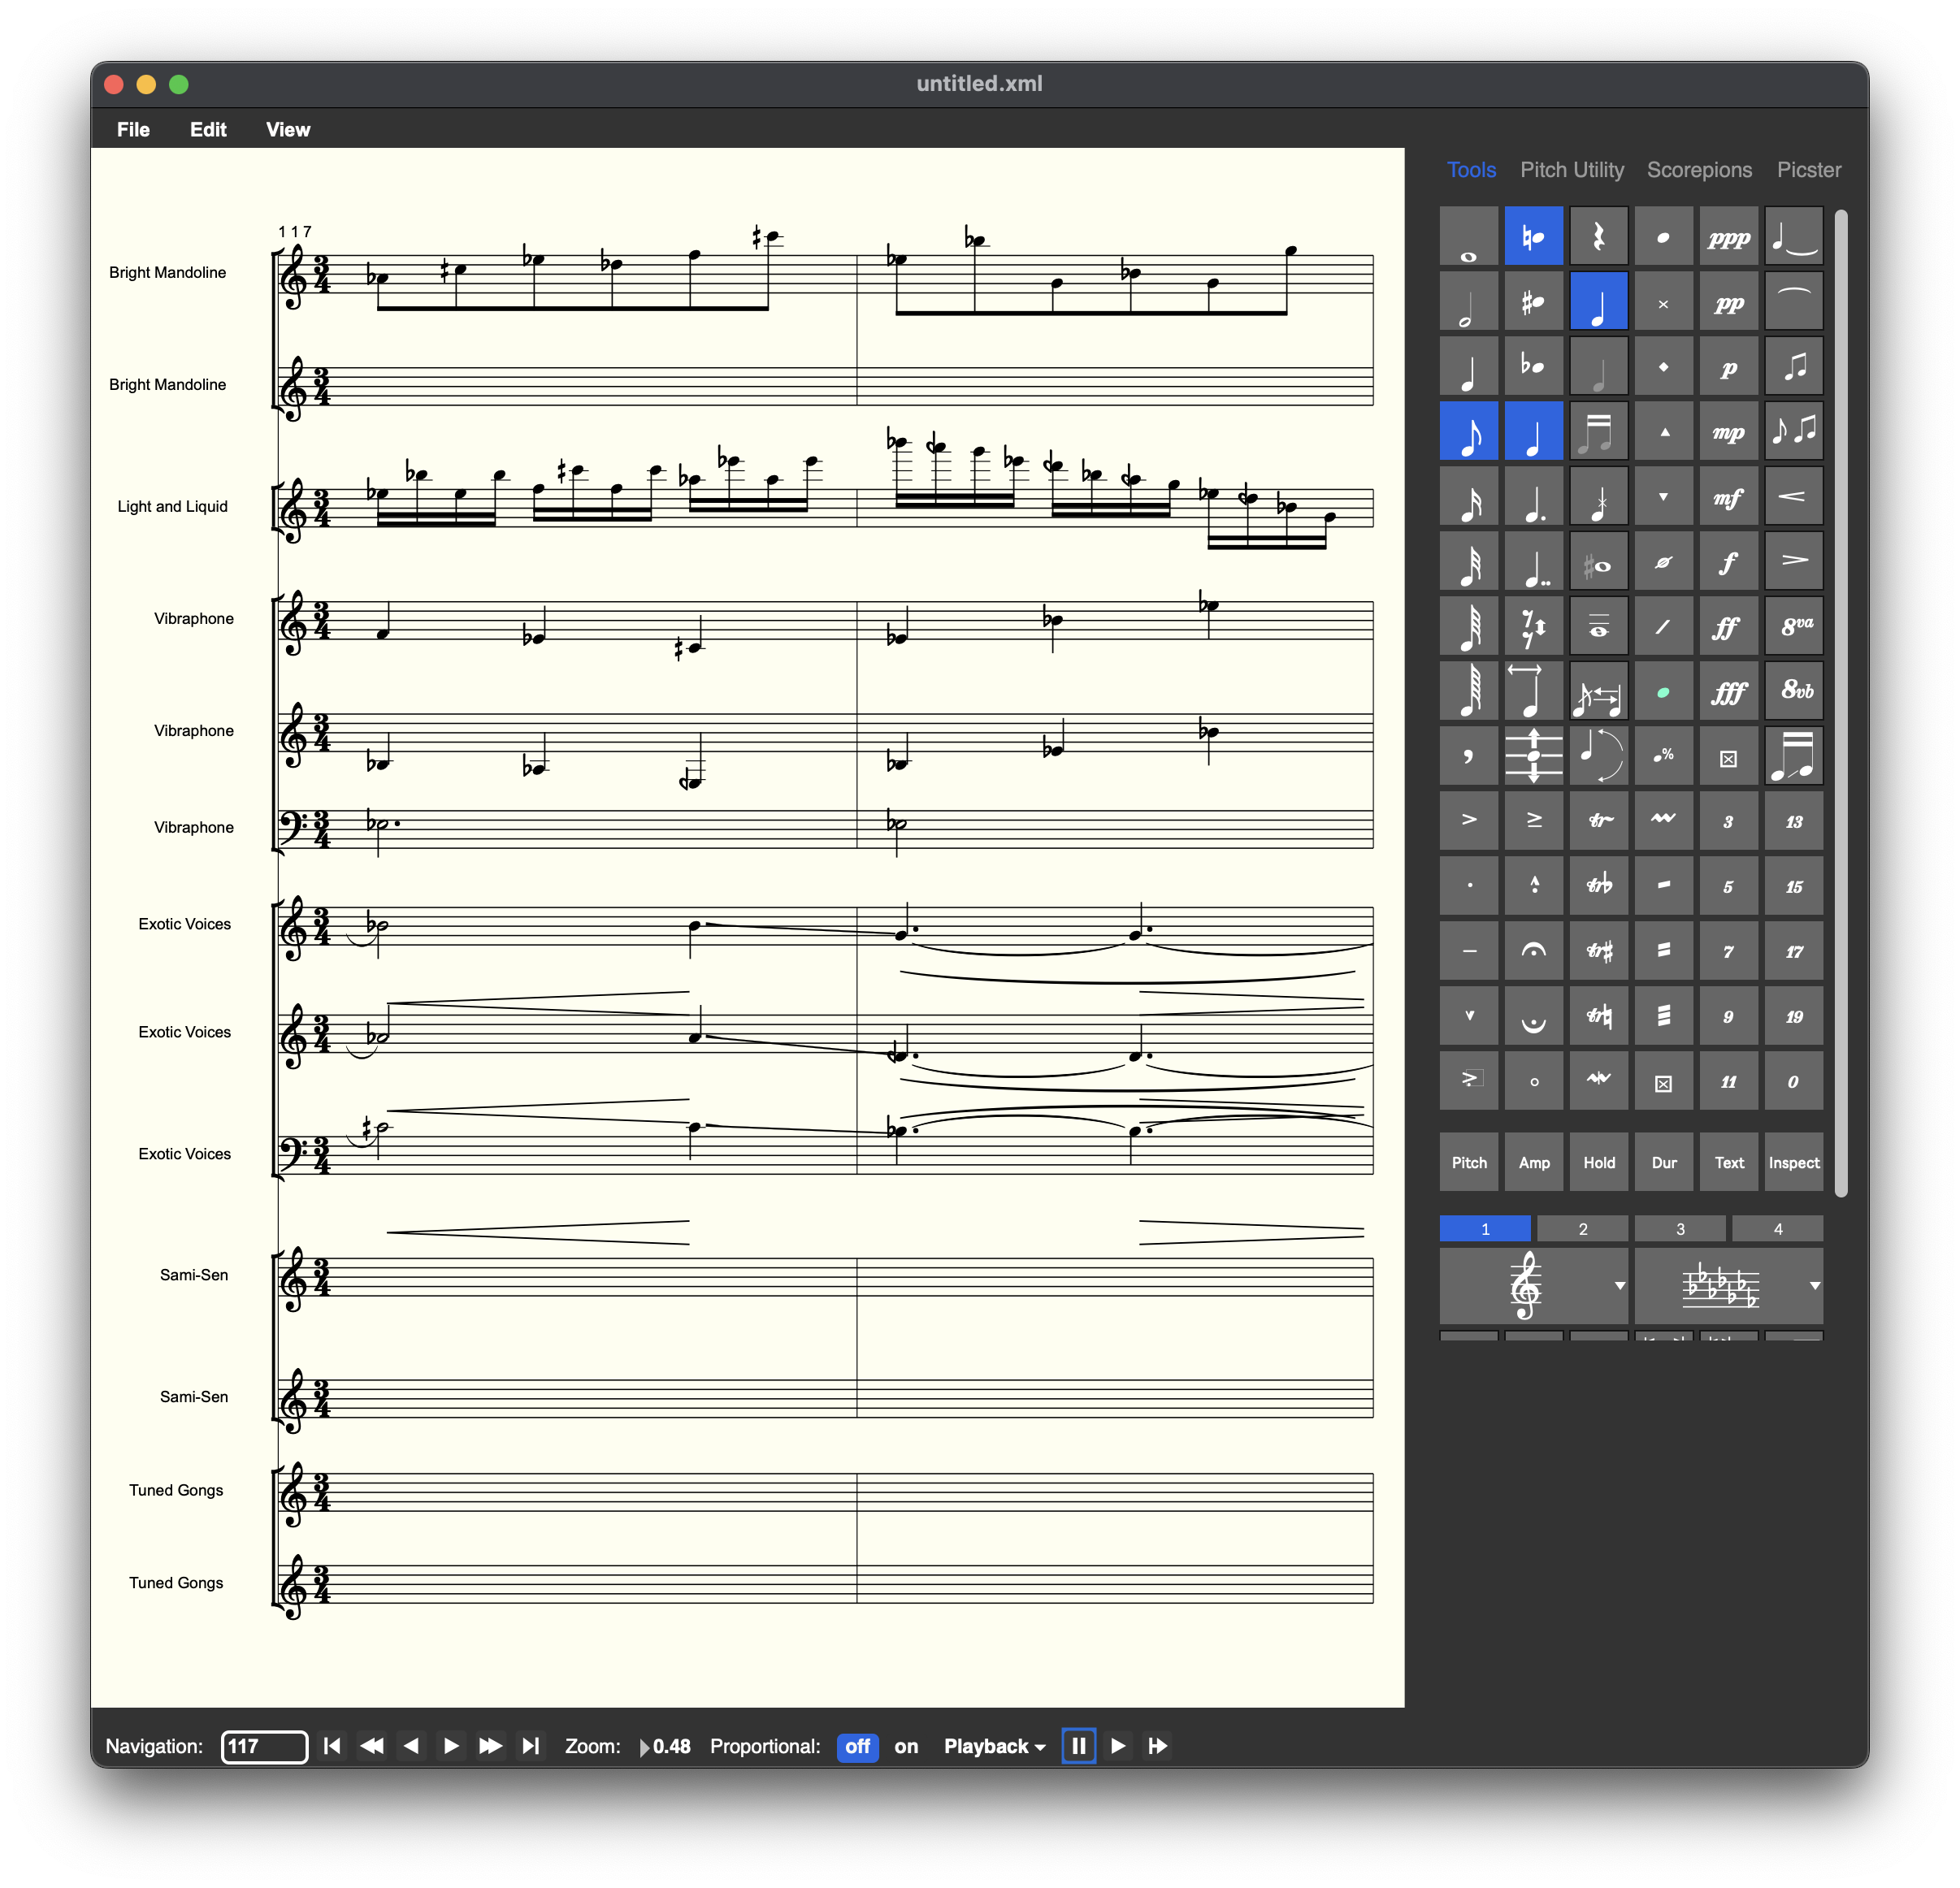
LiveScore includes a example set with a microtonal score by the late American composer Easley Blackwood called Blackwood 23 notes-Wavetables. The title refers to the fact that the composition uses a scale that subdivides the octave into 23 equal steps. Note the portamentos in measures in 97 and 117. These are performed on notes that already have altered pitches.
Transcription of Loops
Note that LiveSore Editor only transcribes a clip once. This can lead to problems when clips of varying lengths are looping in playback. There are several options to deal with this:
-Either make loop lengths equal in Live’s Clip View,
-Play clips once by turning Loop off in Clip View or
-“Spell out” the loop in the actual clip.
-Recreate the loops in the LiveScore Editor and use its playback.
Editing
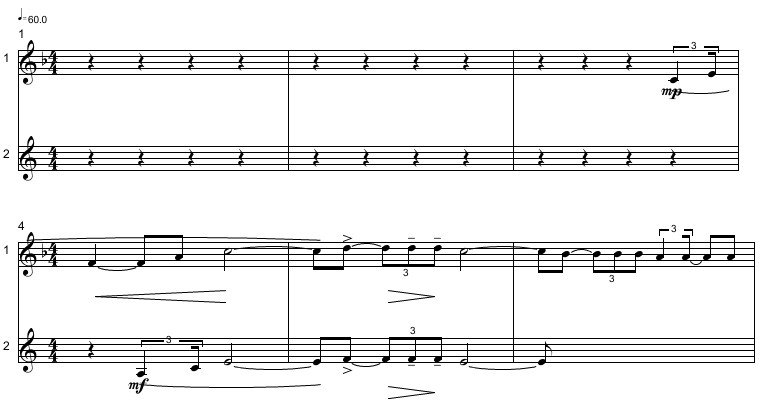
Now we’re ready to edit our score. Return to our first example (LiveScore Demo), duplicate the track “2 Lead-Square” and delete the MIDI clip. Click on the first slot and press cmd-shift-M to create an empty MIDI clip. Press cmd-R and name the clip MELODY2. Click inside the first track and switch to track view. Open the score editor, create a new score, update the Live clip menu by clicking on “Live Clip“, insert a staff and transcribe clips “S 1:0 MELODY” and “S 2:0 MELODY2” to the first two staves. As expected, the second staff is empty while the first one should contain the melody of What a Wonderful World. Copy and Paste Free Flow (see Edit menu) the first 8 notes to the second staff to create an imitation by a half note (see below). The new clip will automatically be updated as you add new notes to it, provided that Automatic Update is turned on in Preferences (it’s turned off by default because frequent updating of large scores might slow things down a bit).
Note: You’ll need to click on the first note and (with the shift key held) on last note of the selection (don’t try to shift-drag-enclose the notes). Choose Fill Empty Measures with Rests from the Scorepions menu and start embellishing the music by assigning dynamics, slurs, wedges and marks. Choose Commit to Live Set if you want the music to be included in the Live set (you’ll still need to save the Set though).
Saving/loading/importing a Score
It’s time to save your work. Choose Save Score from the File menu and save the score to your favorite folder. When you reopen the file by choosing Load File from the File menu, the corresponding Live clips will be auto assigned to their staves and you’ll be able to continue working on the score in sync with Live provided that you haven’t changed the MIDI clips in the meantime. Alternatively, you can commit the score to the Live set and enjoy being able to continue your work without having to load the MaxScore file separately after opening the set.
If the score contains music that hasn’t been created in Live (e.g. by importing a MIDI file directly into the Editor; we recommend importing MIDI files directly to the Live clip matrix), the staves have to be linked manually to the Live clip matrix. Choose the clip slot into which to write the music from the Live Clip menu and click on update. Now the Live clips contain the notes from the score and are perfectly in sync as long as their tempos match. (You can set master tempo in Live in the upper left-hand corner.)
Automation via Picster Expressions
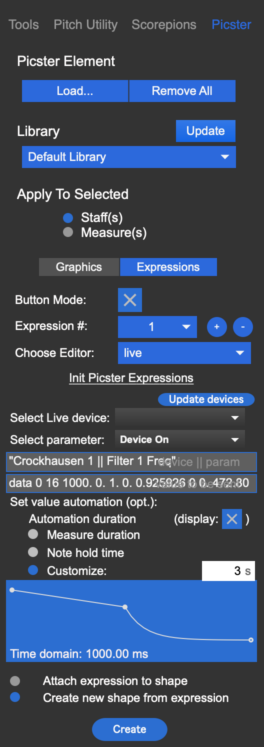
Picster Expressions are messages attached to LiveScore’s graphical objects. There are a few editors designed to create those messages, the Live expression editor amongst them. In order to create an expression for the automation of a device parameter click on the Picster tab in LiveScore’s sidebar, choose Expression from the tab below and select “live” from the “Choose Editor” menu. Now, update the device list by clicking on the button in order to view the current set of devices. Upon selecting a particular device, its parameter will be shown in the menu below from where they can be selected and viewed as a device/parameter combo (separated by two vertical lines) in the upper text field. In the lower field, you can either enter a single value or by changing values in the break-point function editor. The duration of the event can be set to the duration of a measure, length of a note’s hold time or to an arbitrary number. Select “Create new shape from expression” to create a graphical representation of the automation curve in the score and click on the “Create” button.
Refer to MaxScore: Graphics and MaxScore: Expressions in the Max Reference for further information on how to use graphics and expressions in a score created with LiveScore. (You can open the Max application by clicking on the Edit button of a Max for Live device.)
